Using this Mini Bar Clamp is easy. One jaw can be fixed to the rail by tightening the screw in it. The other jaw slides and locked in
place by tigthening the knob.
All of the parts are in the photo at the right. This is for one complete set. For more information on all the parts, see the Building Instructions below.
This Mini Bar Clamp can be used in multiple
configurations:
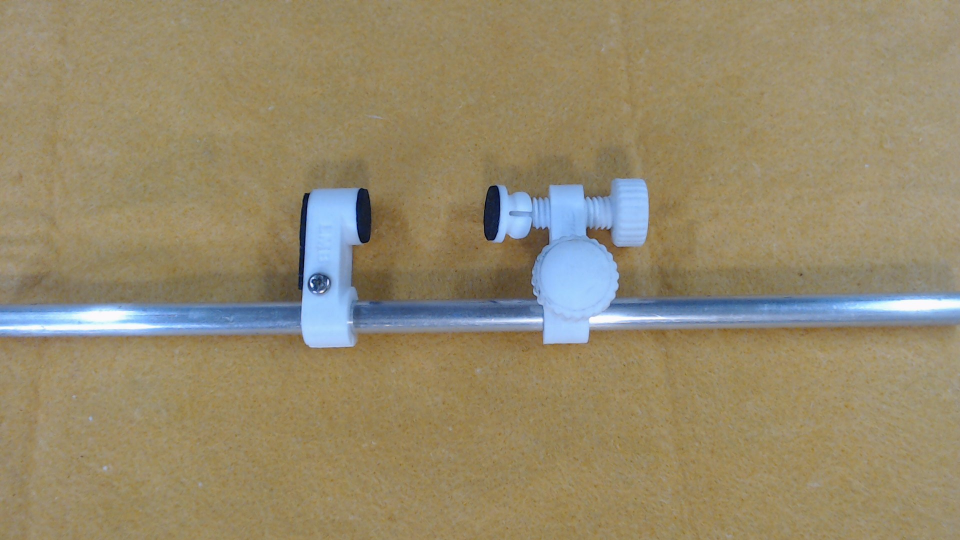
Basic operation is round pad to round pad.(photo 1)
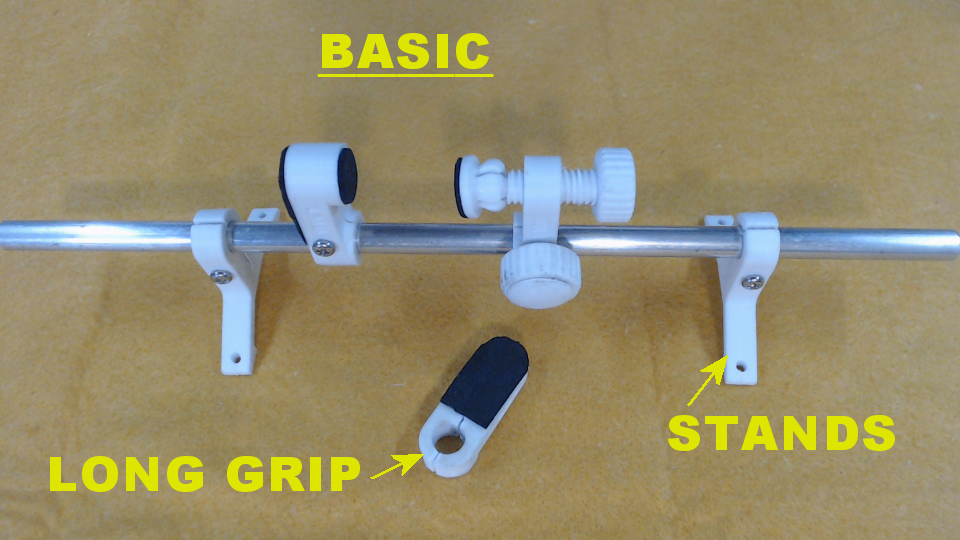
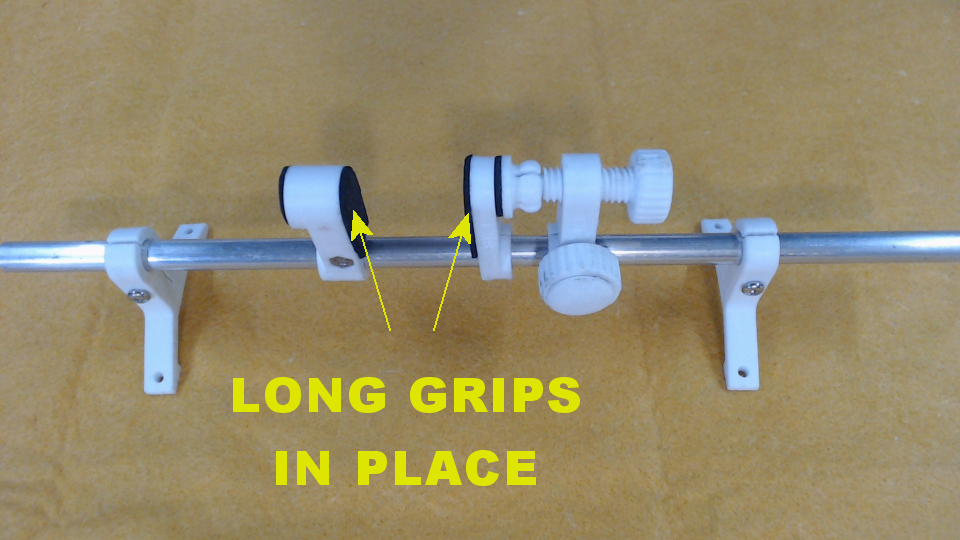
By reversing the "fixed" jaw and inseerting the sliding jaw you get a larger gripping surface (photo 2)
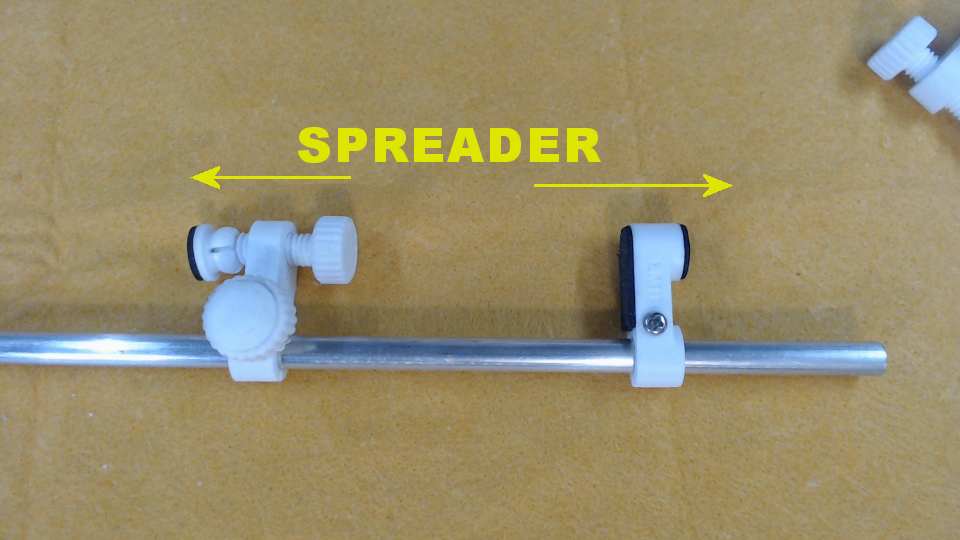
Reversing both jaw you get a spreader clamp (photo 3)
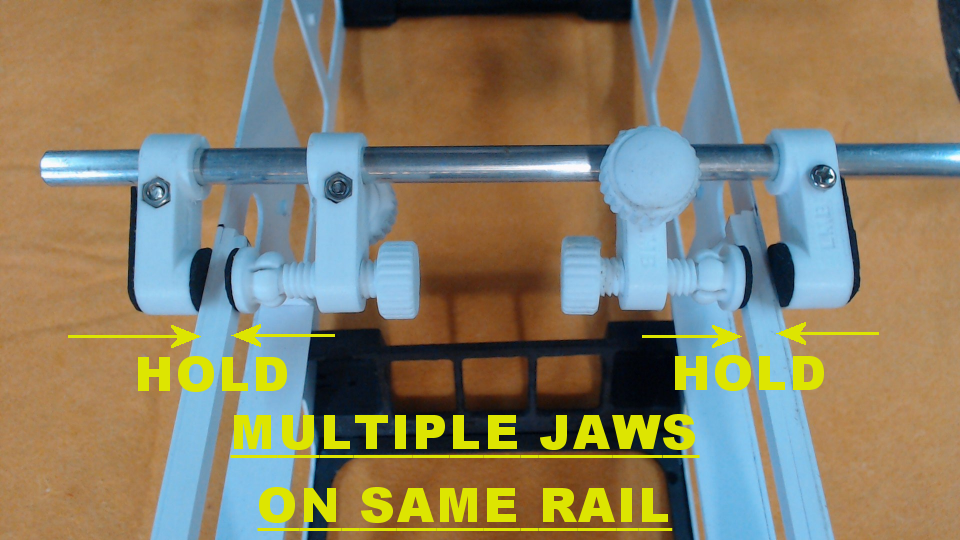
By adding another set of jaws on the same rail youu can hold parts in alignment in various ways.
The Pieces
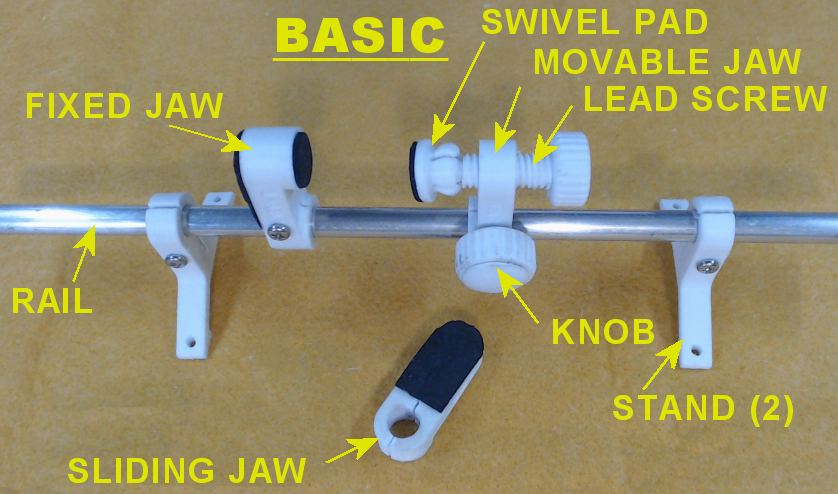
The Mini Bar Clamp is composed of various pieces, some 3D printed, some purchased, and some made from other materials.
The 3D printed parts (pictured above)
are as follows: Fixed Jaw, Sliding Jaw, Swivel Pad, Lead Screw, Sliding Jaw, kNOB, and Stand.
All to be 3D printed. Recommended for these items is a FDM printer using PLA filament, all printed with 100% infill and no support.
One section of 3/8 inch diameter rod or tubing, you choice of material (wood, aluminum, plastic, copper, etc.). The length is what ever you desire.
Fasteners, cement, rubber padding (optional) to make the clamps. Your choice, see instructions below.
Assembling
Parts
(download and extras)
To build one Mini Bar Clamp set.:
| Item Description | File Name (select to download) |
Info |
|
Mini Clamp Parts |
Bar Clamp | Make one |
|
Stand (optional) |
Bar Clamp Stand (pair) | Make one (pair) |
| Rail |
| 3/8 inch (.375) diameter |
| Screw M4-16 (need 2) |
| Stainless Steel |
| Screw M4-20 (need 1) |
| Stainless Steel |
| Nut M4 (need 3) |
| Stainless Steel |
| Screw M4-16 (need 2) (for Stand) |
| Stainless Steel |
|
Nut M4 (need 2) (for Stand) |
|
Stainless Steel |
| Superglue GEL |
| |
| JB Weld epoxy |
| Regular or Quick set |

 How it works
 The Mini Bar Clamp is composed of various pieces, some 3D printed, some purchased, and some made from other materials.